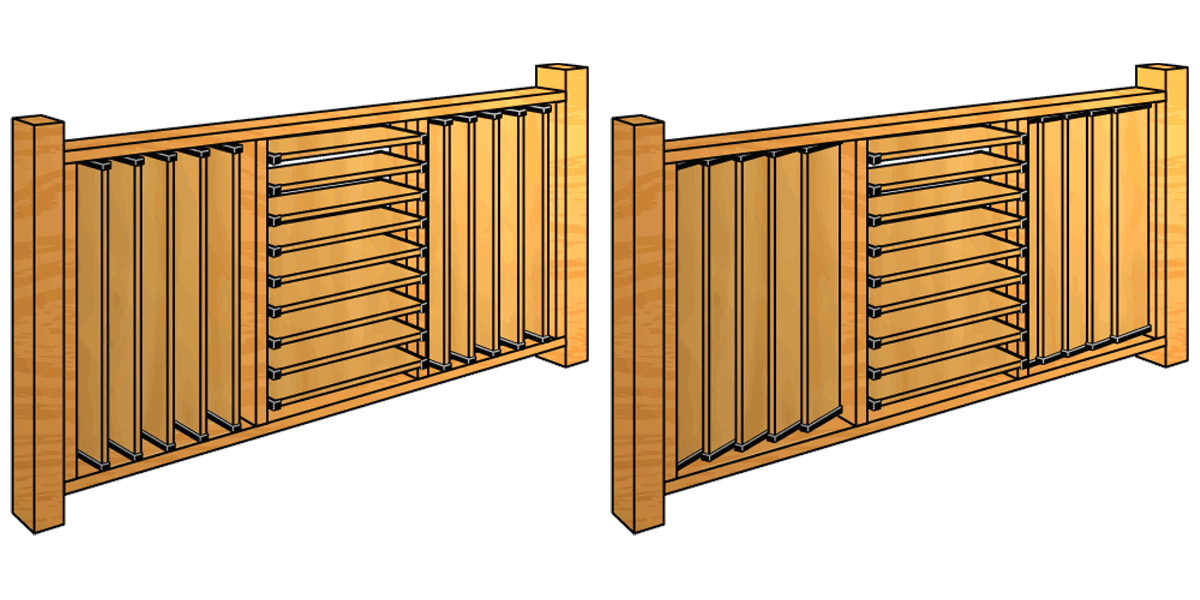
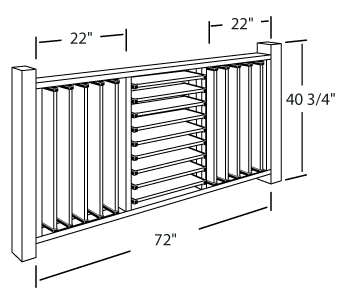
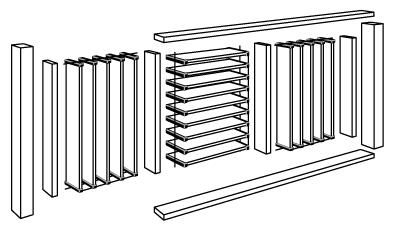
This is a great plan for louvered deck railings. Again, adjust it to your specific needs… and don’t forget to read Howie’s Tips. Good Luck!

Dimensions
FLEXfence fully louvered deck railing


Note
The drawings are to be used as a guide only.
MATERIAL LISTING
- 2/kits FLEX•fence
- 4/pcs.- 2″x4″x37 ¾”
- 2/pcs. – 2″x4″x 72″
- 9/pcs. – 1″x6″x 20 ½”
- 10/pcs. – 1″x6″x36 ¾”
- 1″ finishing nails
- 4/pcs. – wood plugs (optional)
- Exterior grade carpenter’s glue
TOOLS REQUIRED
- Pencil
- Measuring Tape
- #1 Robertson Screw Driver-Green Handle or (Philips Screw Driver)
- #2 Robertson Screw Drive-Red Handle (Philips Screw Driver)
- Hand Saw
- Hammer
- Chisel
- Combination Square
- Protective Eyewear
- Level
OPTIONAL TOOLS
- Drill with appropriate bits & counter sink bit
- Router with decorative bits
- Power saws – Mitre & Skill
HOWIE’S TIPS
- Cut one kit of FLEXfence rails into 2 sections each measuring 22″ (Make the first cut 3″ from 1st pre-punched hole).
- When sizing FLEXfence always cut the rails and operating bar with hand tools and never with power tools.
- When attaching the FLEXfence brackets onto the rails allow for the brackets to move freely (swivel). Do not over tighten!
- Always wear protective goggles.
