Louvered Deck Roof – 12′ X 12′ X 10′


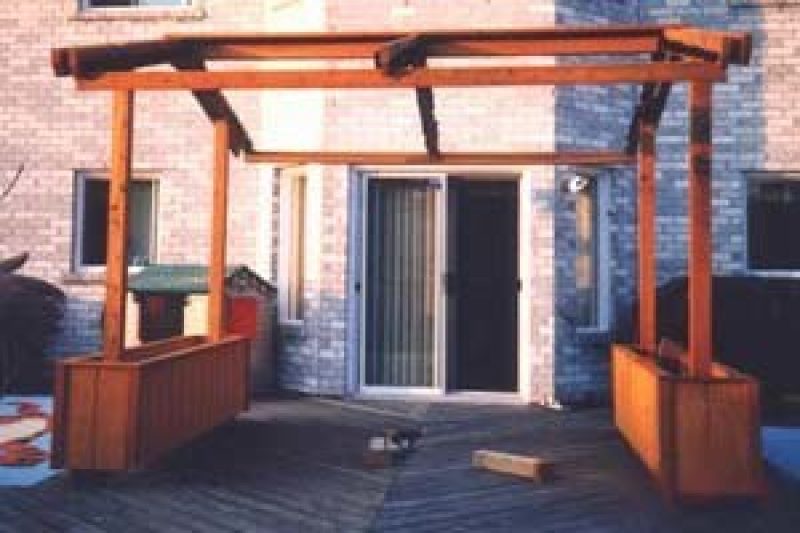
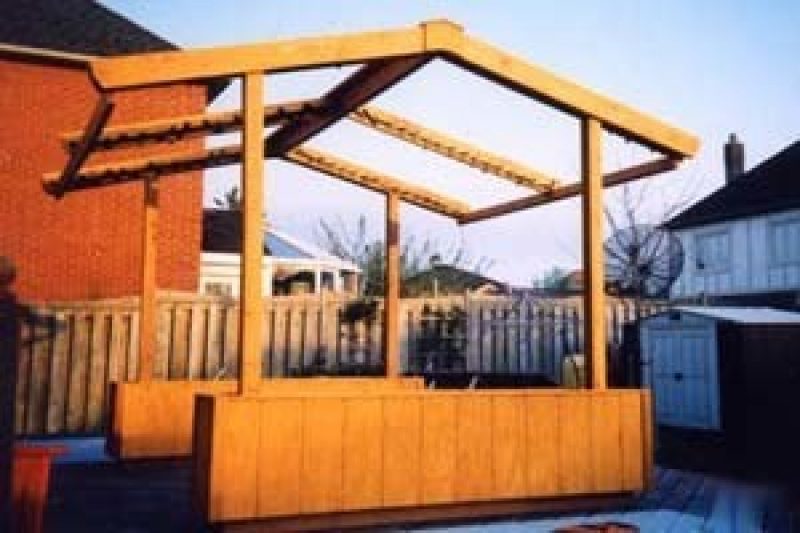
Step 1. Construct frame
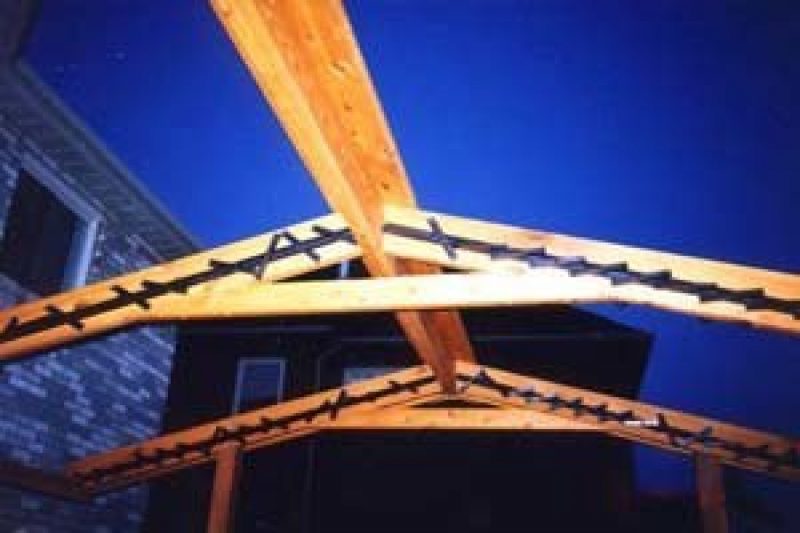
Step 2. Attach FLEX•fence
Step 3. Remember to offset rails if mounting onto 2″ X 6″ (See package instructions)
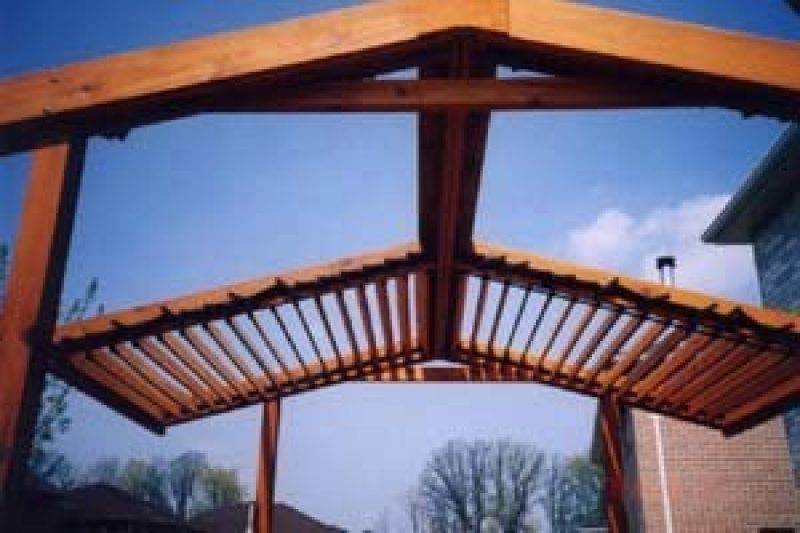
Step 4. Attach 1″ X 6″ into Flexfence brackets
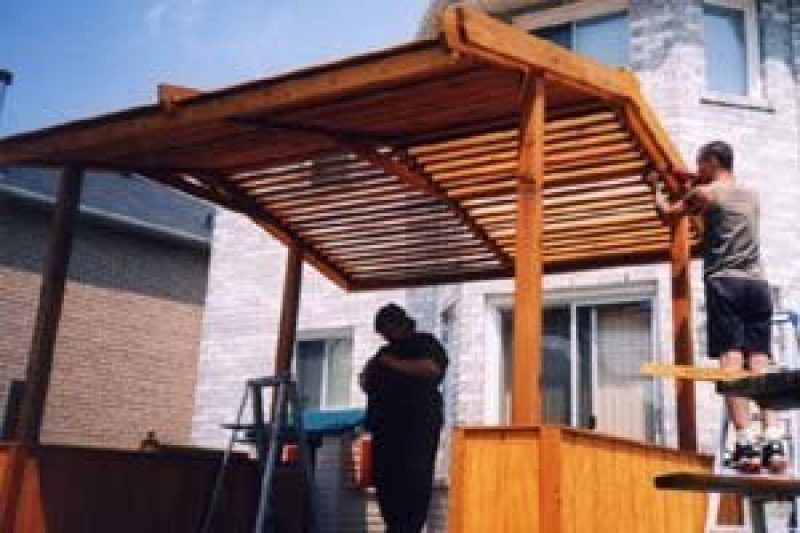
Step 5. Finishing 2 Post Deck Roof
HOWIE’S TIPS
- Once your Roof is constructed, create drainage (drill holes) in wood marked ‘A’ in Roof Plans and on bottom of the Planters.
- When attaching the FLEXfence brackets onto the rails allow for the brackets to move freely (swivel). Do not over tighten!
- When sizing FLEXfence always cut the rails and operating bar with hand tools and never with power tools.
- Always wear protective goggles.