Top – 8 ft. Section
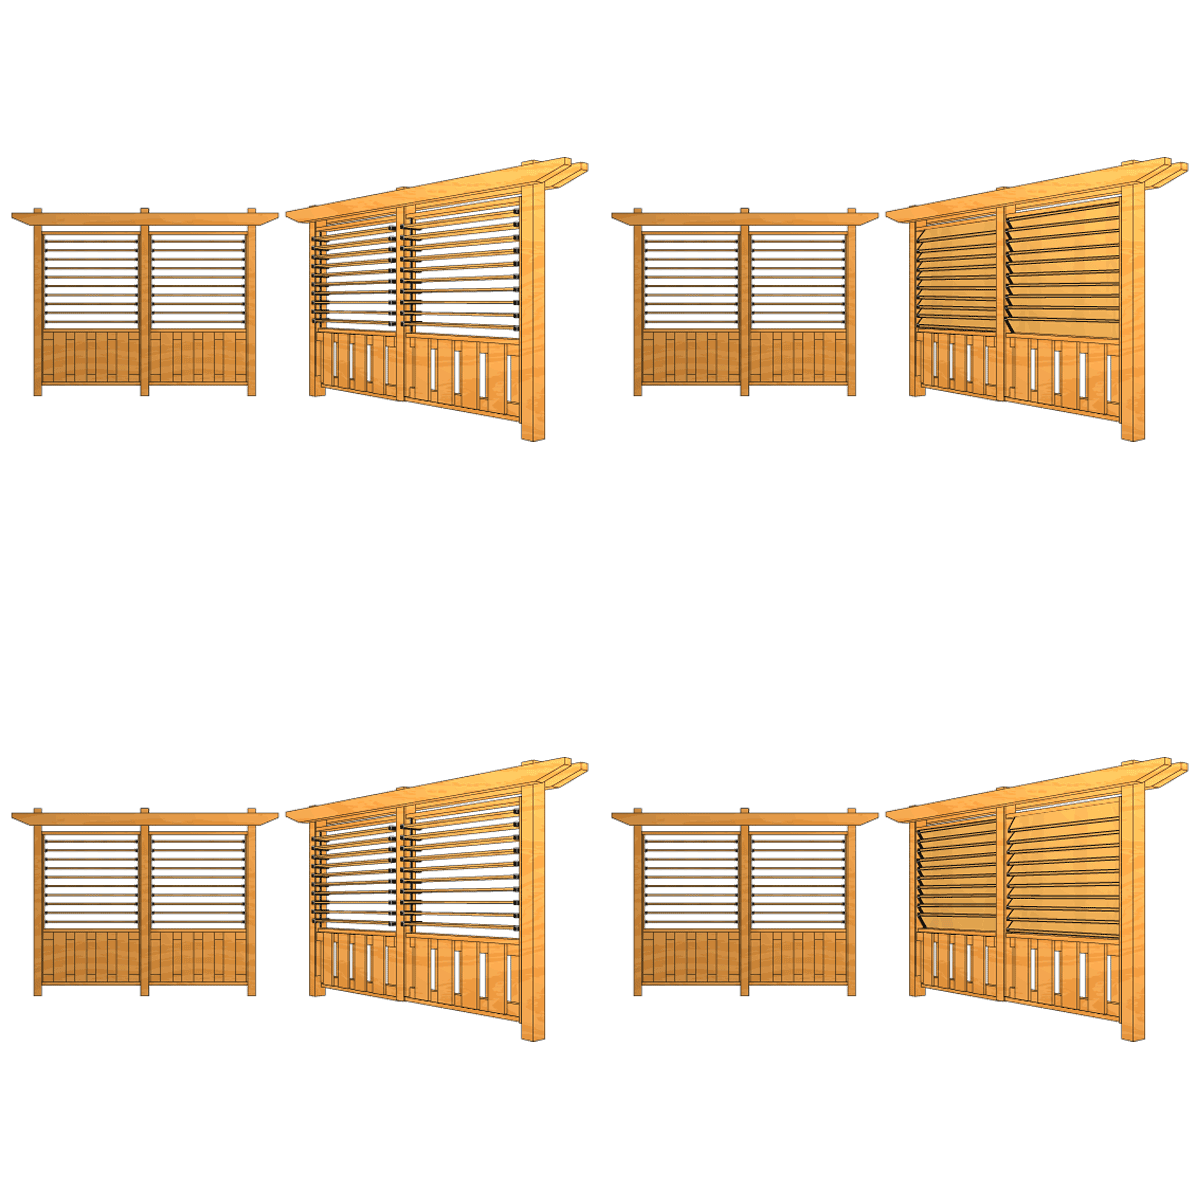
This plan for a board on board fence with a louvered top is for an 8 foot section. We also have a plan for a 4 foot section. You can also find it on our DIY Projects page.

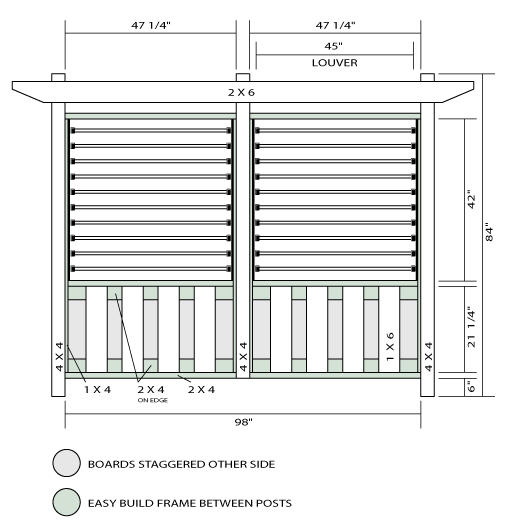
Dimensions
FLEXfence board on board fence with louvered top – 8 ft. section


Note
The drawings are to be used as a guide only.
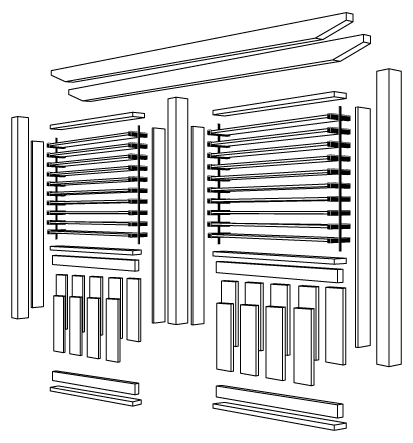
MATERIAL LISTING
- 2/kit FLEXfence Cut the kit to 42″ (leave 3″ space from pre-punched holes on each end)
- 2/pcs. – 4″ x 4″ x 84″
- 1/pcs. – 4″ x 4″ x 77 “
- 18/pcs. – 1″ x 6″ x 21 ¼”
- 20/pcs. – 1″ x 6″ x 45″
- 10/pcs. – 2″ x 4″ x 46 ¼”
- 1/pcs. – 2″ x 6″ x 120 ¼”
- 4/pcs. – 1″ x 4″ x 64″
- 2″ Spiral nails
- Exterior grade carpenter’s glue
TOOLS REQUIRED
- Pencil
- Measuring Tape
- #1 Robertson Screw Driver-Green Handle or (Philips Screw Driver)
- #2 Robertson Screw Drive-Red Handle (Philips Screw Driver)
- Hand Saw
- Hammer
- Chisel
- Combination Square
- Protective Eyewear
- Level
OPTIONAL TOOLS
- Drill with appropriate bits & counter sink bit
- Router with decorative bits
- Power saws – Mitre & Skill
HOWIE’S TIPS
- When attaching the FLEXfence brackets onto the rails allow for the brackets to move freely (swivel). Do not over tighten!
- When sizing FLEXfence always cut the rails and operating bar with hand tools and never with power tools.
- Always wear protective goggles.
